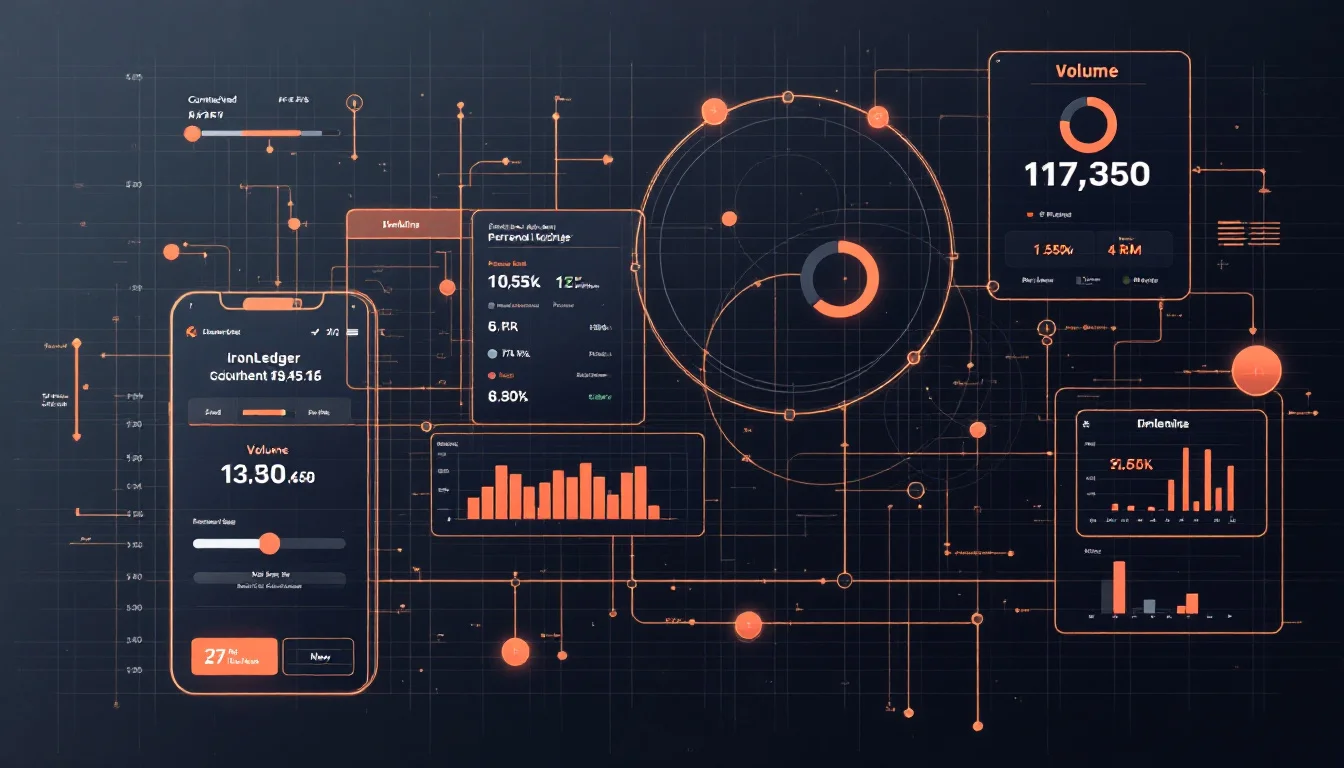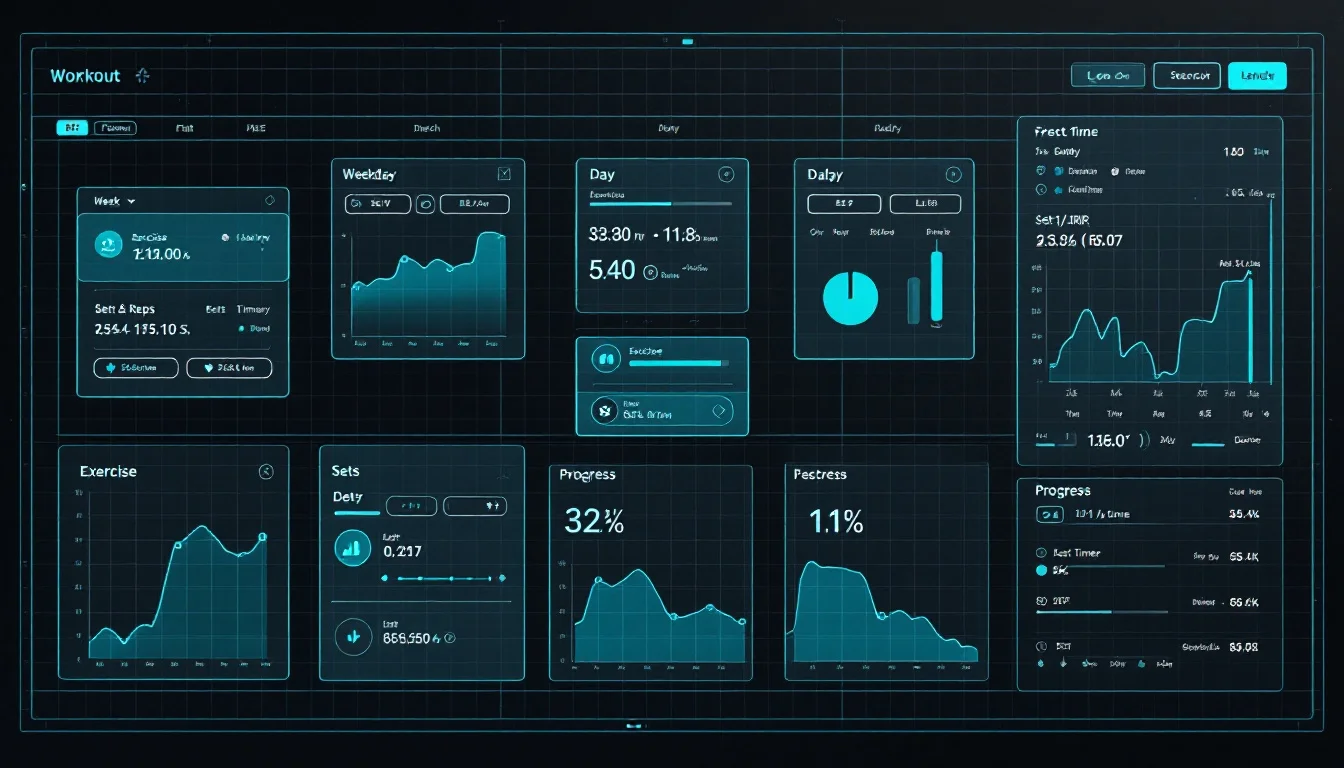
A workout planner app should connect the programme you intend to run with the sets you actually complete. For strength training, planning is not just a calendar of body parts. The useful app stores exercises, sets, reps, load targets, RPE or RIR, rest, notes, progression rules, history, PRs, exports, and offline session logging in one record.
That matters most for self-coached lifters. If the plan lives in one place, the workout log lives somewhere else, and the progress review is rebuilt later in a spreadsheet, small errors creep in. A good planner keeps the planned target beside the completed set so the next decision is based on evidence rather than memory.
What should a workout planner app actually plan?
A workout planner app should plan the repeatable training variables: exercise variation, week, day, sets, reps, load or intensity target, RPE/RIR target, rest, notes, and progression rule. A vague entry such as "upper body" can remind you to train, but it cannot tell you whether the programme is progressing.
Strength athletes need structure before the first set starts. A paused bench press, touch-and-go bench press, incline dumbbell press, and close-grip bench press can all sit inside a pressing programme, but they should not share one loose history. The planner should keep each variation clear enough that future comparisons are fair.
The American College of Sports Medicine states the programming reason plainly:
"In order to stimulate further adaptation toward specific training goals, progressive resistance training (RT) protocols are necessary." — American College of Sports Medicine, Progression Models in Resistance Training for Healthy Adults (2009)
That sentence turns app choice into a practical checklist. The planner should show the protocol, not only the workout name. If you cannot see the target reps, target effort, exercise variation, and progression rule, the app is mostly a reminder list.
If you are still choosing between paper, spreadsheets, notes, and a dedicated app, start with the workout logbook vs app comparison. If you already want an app, the narrower question is whether the planner can keep the plan, the active session, and the review layer connected.
Which programme fields matter before the first set?
Before the first working set, the important programme fields are week, day, exercise variation, set target, rep target, load target, effort target, rest target, notes, deload status, and progression rule. These fields explain what was supposed to happen, which makes the completed workout easier to judge later.
Use this minimum planning checklist:
| Planning field | Why it matters | Example decision it supports |
|---|---|---|
| Week and day | Keeps a block in order rather than as loose workouts | Know whether a lower-volume week was planned |
| Exercise variation | Separates similar lifts with different technique demands | Compare paused bench with paused bench |
| Sets and reps | Defines the intended workload | Decide whether the session was completed |
| Load or intensity | Shows the external target | Add load, repeat, or reduce the next exposure |
| RPE or RIR target | Defines the effort boundary | Stop a set from becoming an unplanned max |
| Rest and notes | Preserves timing, equipment, tempo, or pain-free range | Explain why a result changed |
| Progression rule | Links today to the next session | Add reps first, add load, hold, or deload |
Many lifters still write programmes in spreadsheets because spreadsheets are good planning tools. They handle percentage tables, custom progressions, and multi-week blocks well. The weak point is active use on a phone in the gym. Editing rows, tabs, and formulas between sets is slow enough that the log often becomes less accurate.
IronLedger's programmes page verifies three ways to start: built-in programme structures, custom multi-week blocks, and CSV or Excel import. It also verifies import preview warnings, source attachment, deload markers, exercise-level prescription, week and day reordering, and completed-workout export.
If your current programme starts in a file, the workout app with spreadsheet import checklist explains which CSV and Excel details should survive the move. The goal is not to abandon spreadsheets entirely. The goal is to avoid rebuilding the same programme by hand before every session.
How should planned work connect to logged work?
Planned work should connect to logged work set by set. The app should show the target, let you record the actual load, reps, RPE or RIR, rest, notes, and completion status, then preserve the difference. A missed set, changed exercise, or reduced load is useful data, not something to hide.
This is where many planning apps become too tidy. They show an elegant schedule before training, then fail when the gym is crowded, the warm-up feels heavy, or a machine is taken. Strength training needs a planner that can adapt without erasing the original target.
IronLedger's workout logging flow verifies set-level logging for load, reps, RPE or RIR, notes, set completion, rest, supported set types, previous values, exercise reorder, exercise replacement, adding or removing supported exercises, optional per-set form-check video, offline session logging, supported cloud backup and sync, and portable CSV workout export.
Those details protect the training record. If the programme prescribed three sets of five at RPE 7 and you completed 5, 5, and 3 at RPE 9, the app should keep both truths: the plan and the result. If you swap a cable row for a chest-supported row, the history should not pretend the same exercise happened.
Zourdos and colleagues studied 29 squatters with a resistance-training-specific RPE scale. The scale mapped RPE 10 to 0 repetitions in reserve and RPE 9 to 1 repetition in reserve. That mapping is useful because two completed sets can look identical on paper while costing different amounts of effort.
The RPE workout tracker app checklist covers this in more detail. For planning, the key point is simple: effort belongs in both places. The plan needs a target effort, and the log needs the actual effort.
Which progression rules should the app support?
A workout planner app should support the progression rule your programme uses, or at least make the rule visible beside the lift. Useful rules include linear loading, double progression, the two-for-two rule, percentage 1RM, RM zones, RPE/RIR caps, APRE-style adjustments, volume progression, and deload triggers.
ACSM's position stand recommends a 2-10% load increase when the current workload can be performed for one to two repetitions over the desired number. That recommendation only works when the app stores the target, the completed reps, and enough context to know the extra reps were comparable.
A 2021 review in Sports Medicine listed linear loading, the two-for-two rule, percentage 1RM, RM zones, RPE, RIR, set-repetition best, autoregulatory progressive resistance exercise, and velocity-based training as methods for monitoring and adjusting intensity. The same review noted that percentage 1RM and RM-zone methods can provide variation but fail to account for daily changes in performance capability.
That is why a planner should not force every lifter into one progression model. A novice may do well with linear loading. A hypertrophy block may use double progression. A peaking block may use percentages with RPE caps. A tired week may need the plan to hold steady even if the calendar says to add load.
| Progression method | What the app must show | Main risk if missing |
|---|---|---|
| Linear loading | Last load, next planned jump, completed reps | Adding weight after a poor session |
| Double progression | Rep range, current reps, load change rule | Jumping load before reps are stable |
| Two-for-two | Target reps and repeated extra reps | Treating one good day as a trend |
| Percentage 1RM | Training max, percentage, target load | Ignoring daily readiness |
| RPE/RIR cap | Target effort and actual effort | Turning planned work into grinders |
| Volume progression | Weekly sets, hard sets, and exercise history | Adding sets past recovery capacity |
Helms and colleagues' 2016 article makes the case for RIR-based RPE as a practical autoregulation tool. They describe it as a way to adjust loads to athlete capability on a set-to-set basis and to gauge near-limit intensity more precisely. For a self-coached lifter, that means the planner should leave room for judgement without losing structure.
The progressive overload tracker guide explains how to read load, reps, RPE/RIR, volume, estimated 1RM, PRs, and exercise history together. A planner that cannot show those fields will struggle to explain whether the next jump is earned.
How should analytics review the plan after training?
After training, the app should review whether the completed work matched the plan and whether repeatable performance improved. The useful analytics are personal records, estimated 1RM, weekly volume, exercise history, completion rate, and trends by exercise or week. Clean charts are only useful when they trace back to accurate sets.
Volume deserves a place in the review because it is one of the main levers in strength and hypertrophy programming. Schoenfeld, Ogborn, and Krieger's 2017 meta-analysis included 34 treatment groups from 15 studies. The authors found a graded dose-response relationship between weekly resistance-training volume and muscle-size increases; each additional weekly set corresponded to a 0.37% higher percentage gain, and higher versus lower volume differed by 3.9 percentage points.
That finding does not mean every planner should push you to add sets forever. It means the app should show volume beside performance and effort. If weekly sets rise while estimated 1RM falls and RPE climbs, the plan may be outrunning recovery. If weekly sets rise and comparable lifts improve at similar effort, the added work may be productive.
IronLedger's progress analytics page verifies personal records, estimated 1RM using the Epley estimate, training volume, weekly and exercise-level trends, and chronological exercise history. Those metrics are most useful when they stay tied to the programme week and the exact sets that created them.
The broader workout tracking metrics guide explains the field list. If you are choosing the dashboard itself, the workout analytics app checklist shows which graphs and tables help lifters decide what to do next. If PRs are the main signal you review, the personal record tracker app checklist explains why PRs should point back to load, reps, effort, rest, and exercise variation.
When is IronLedger a good fit for workout planning?
IronLedger is a good fit when you want the programme, the workout log, and the progress review in one strength-specific training record. It does not choose the programme for you and it is not a medical tool. It is useful for lifters who already have a plan, want to import or build it, and need reliable set-level history.
The fit is strongest when your workflow looks like this:
- Start from a built-in programme, build a custom block, or import a CSV or Excel file on the programmes page.
- Run the session through the workout logging flow, recording load, reps, RPE/RIR, rest, notes, set status, set types, previous values, and exercise changes.
- Review PRs, Epley estimated 1RM, volume, weekly trends, exercise trends, and chronological history on the progress page.
- Use integrations as opt-in context for Apple Health, Health Connect, Strava, and Oura where supported by platform, release stage, permissions, and account configuration.
- Keep the record portable through supported exports and choose the current app path from the download page.
The product fit is less strong if you only need a habit calendar, a class-booking app, or a general wellness dashboard. Strength planning needs more detail than completed workout counts. The app has to answer the gym-floor question: what was planned, what changed, and what should happen next time?
What mistakes make workout planning apps misleading?
Workout planning apps become misleading when they make the plan look precise but hide the facts needed to judge it. The common mistakes are vague exercise names, missing RPE/RIR, no offline logging, weak import/export, inflexible progression, volume without effort, and analytics that cannot trace back to completed sets.
Avoid these errors:
- Planning by body part only. "Push day" is not enough when load, reps, rest, and progression matter.
- Mixing exercise variations. Paused bench, touch-and-go bench, and dumbbell bench need separate histories.
- Skipping effort ratings. Load and reps alone cannot show whether a set was repeatable or a near miss.
- Deleting missed sets. A missed target is useful evidence for the next week.
- Treating estimated 1RM as a promise. It is a trend signal, not a guarantee that today's true max is available.
- Adding volume without checking recovery. More work is useful only while it remains recoverable.
- Locking data in one app. A serious training history should be exportable.
Rest is easy to underrate here. A set performed after five minutes and the same set after 75 seconds may not mean the same thing. If rest timing drives your programme, the rest timer workout app checklist explains how to keep rest beside load, reps, and RPE/RIR.
The best planner is not the one with the most fields. It is the one you can use accurately during a normal session, then review without rebuilding the workout later. For strength training, planning and logging should be one loop: write the target, perform the work, record the result, review the trend, and adjust the next exposure.
Frequently asked questions
A workout planner app is a tool for building and running training sessions. For strength training, it should store exercises, sets, reps, load targets, RPE/RIR targets, rest, notes, progression rules, completed set data, history, PRs, and exports.
Sources and references
- American College of Sports Medicine position stand: progression models in resistance training for healthy adults — states that progressive resistance-training protocols are necessary and recommends 2-10% load increases after exceeding the target by one to two repetitions (2009).
- Zourdos et al. Novel resistance training-specific rating of perceived exertion scale measuring repetitions in reserve — study of 29 squatters using RPE/RIR mapping, including RPE 10 = 0 RIR and RPE 9 = 1 RIR (2016).
- Schoenfeld, Ogborn, and Krieger. Dose-response relationship between weekly resistance training volume and increases in muscle mass — meta-analysis of 34 treatment groups from 15 studies finding a graded dose-response between weekly sets and hypertrophy (2017).
- Helms et al. Application of the repetitions in reserve-based rating of perceived exertion scale for resistance training — describes RIR-based RPE as a way to adjust loads to athlete capability on a set-to-set basis (2016).
- Training for muscular strength: methods for monitoring and adjusting training intensity — reviews linear loading, two-for-two, percentage 1RM, RM zones, RPE, RIR, APRE, and velocity-based training methods (2021).
- IronLedger programmes page — verifies built-in programme structures, custom blocks, CSV/Excel import, import review warnings, deload markers, and completed-workout export (2026).
- IronLedger product page — verifies set-level logging, RPE/RIR, rest, notes, previous values, offline logging, supported cloud sync, and CSV export (2026).
- IronLedger progress page — verifies personal records, Epley estimated 1RM, training volume, weekly and exercise-level trends, and exercise history (2026).
Keep learning